Gift Wrapping Idea’s

the white farmhouse

Today I wanted to share with you my favorite gift wrapping ideas!  No matter what the occasion, I use this brown paper for weddings, birthdays, baby showers and more.   You can find this by the roll in the craft department of most stores or online by searching “brown paper roll,” I think the other proper name for this is “duck brown craft paper.”  They use this for packaging and therefore stores such as Staples and Office Deport carry it as well.

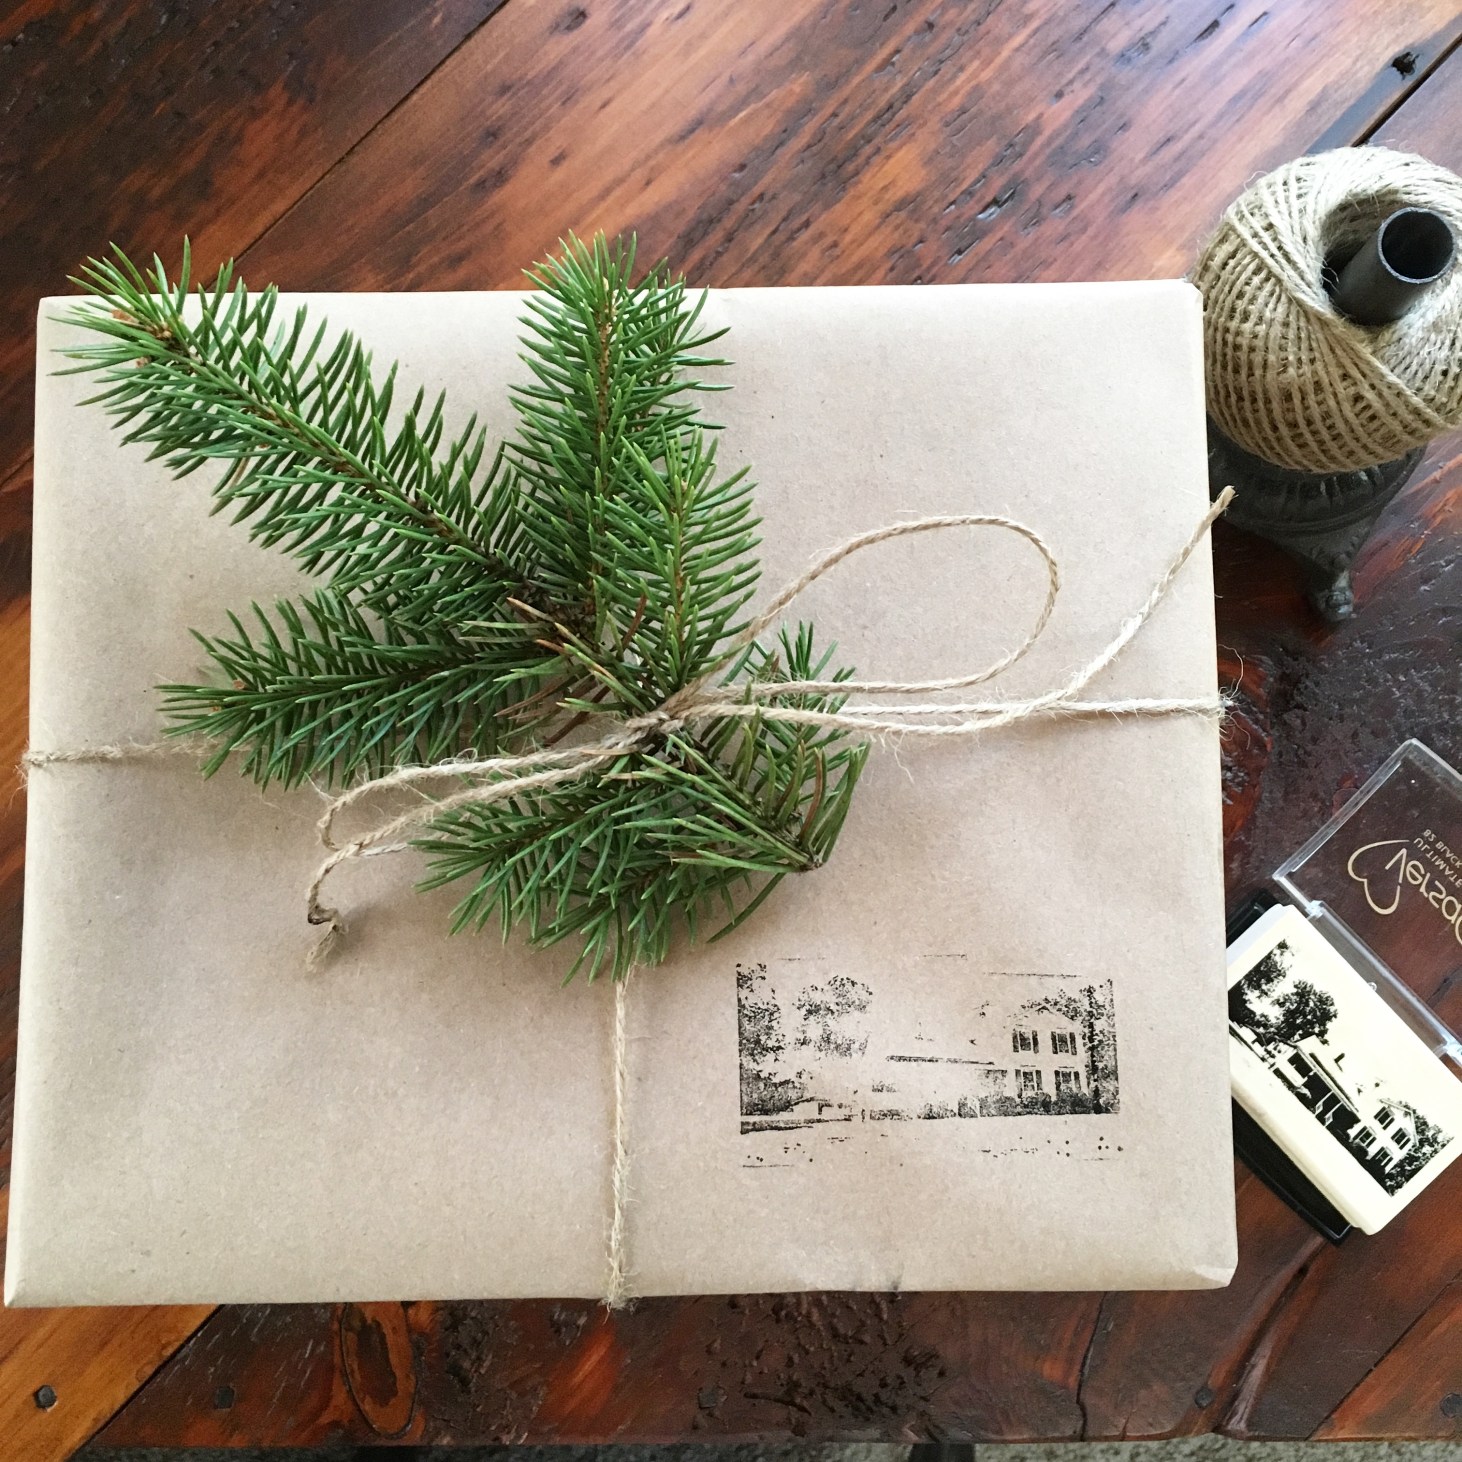
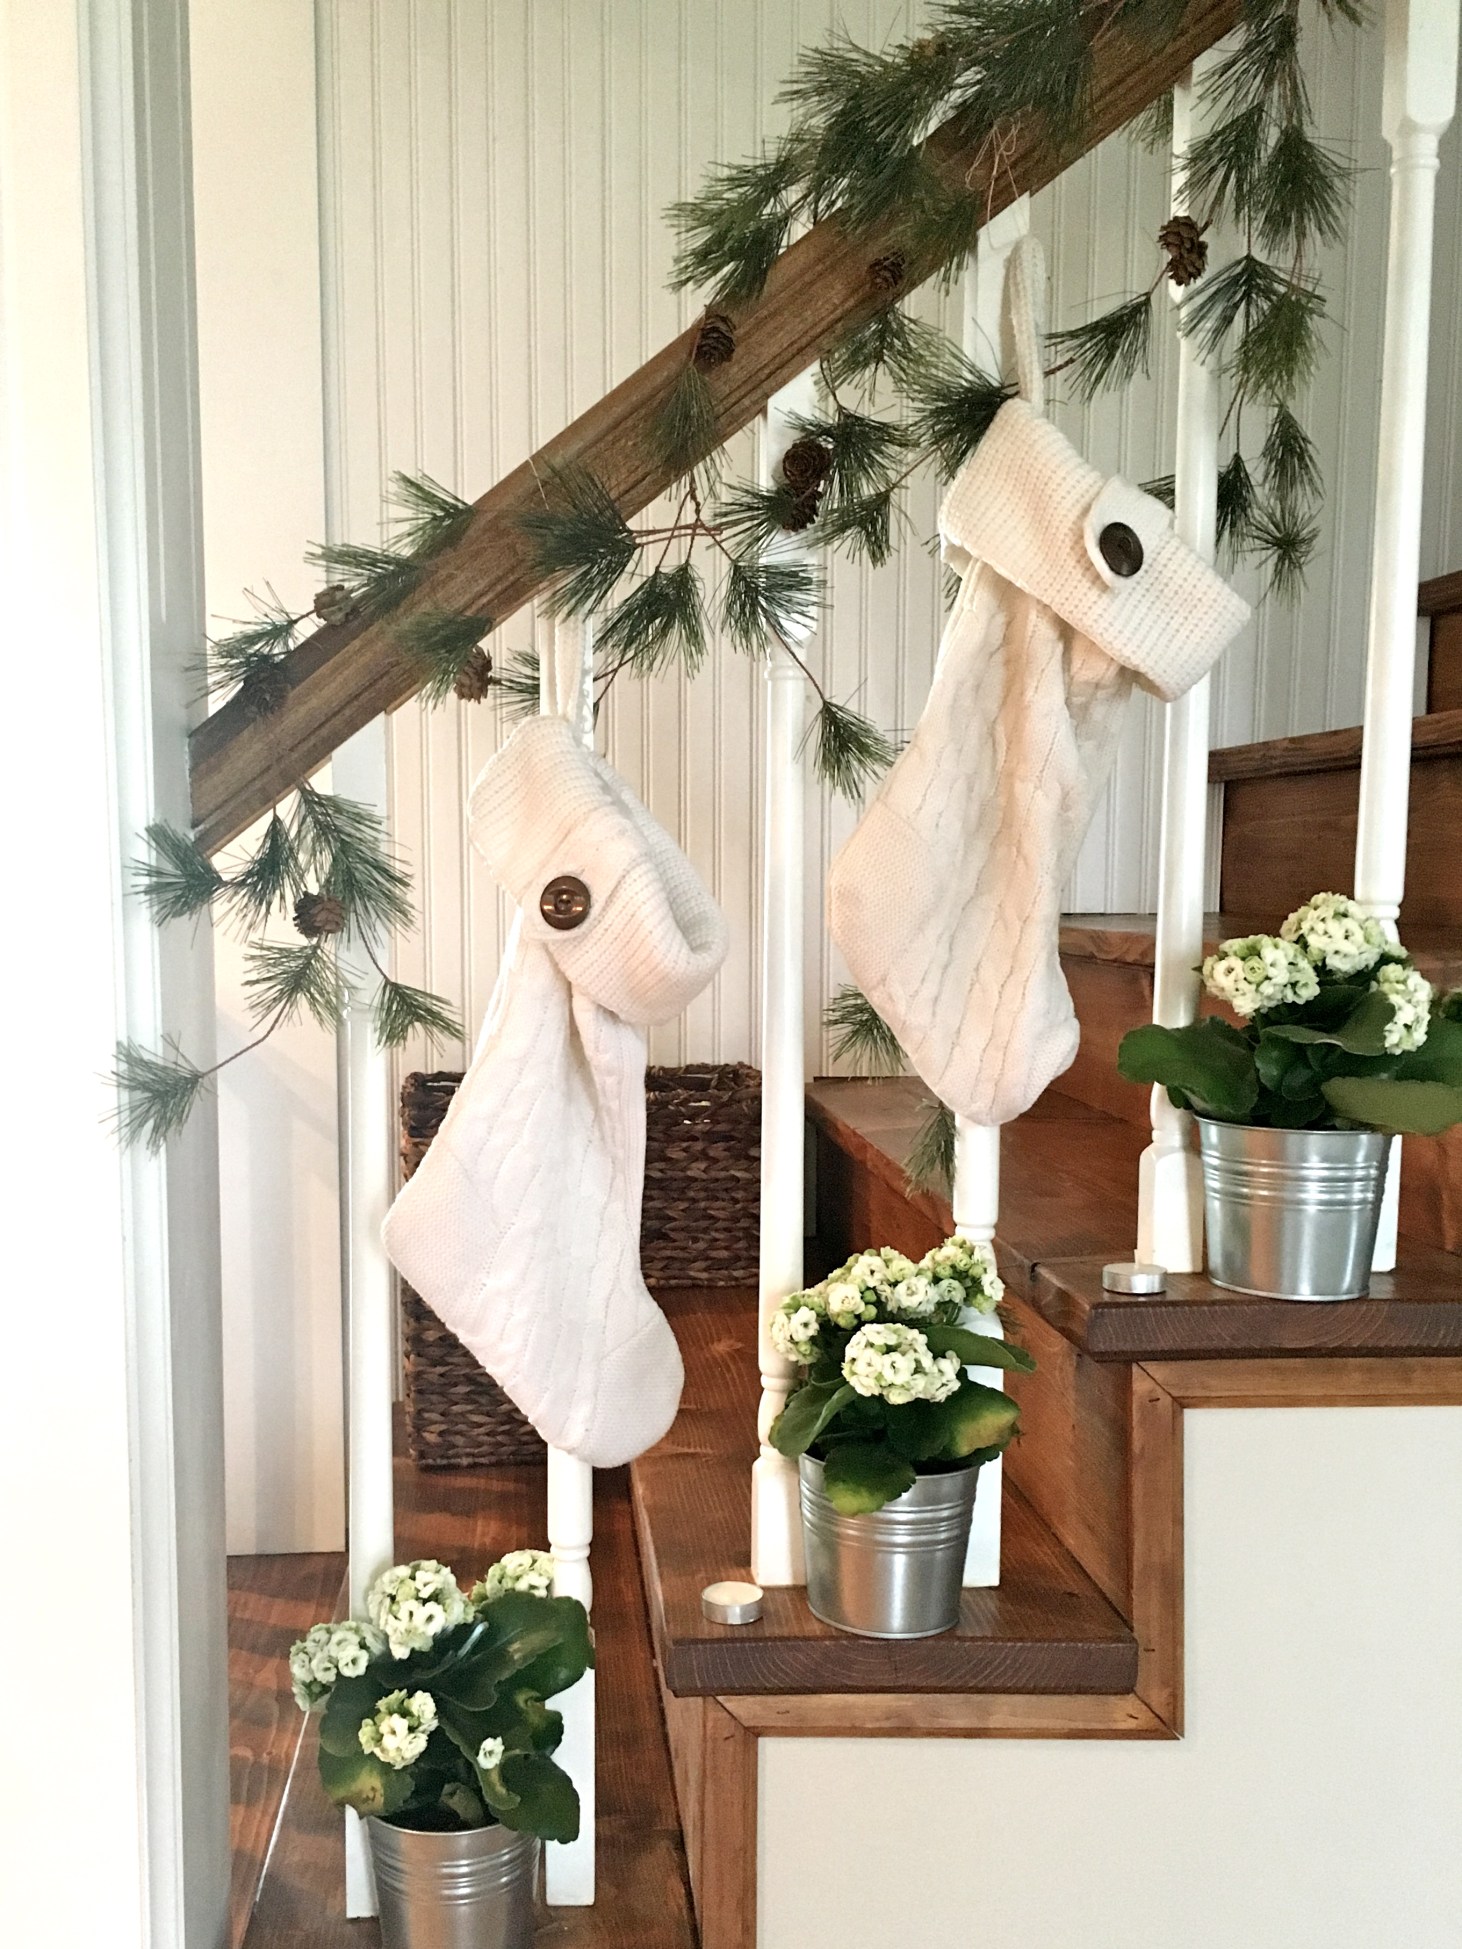
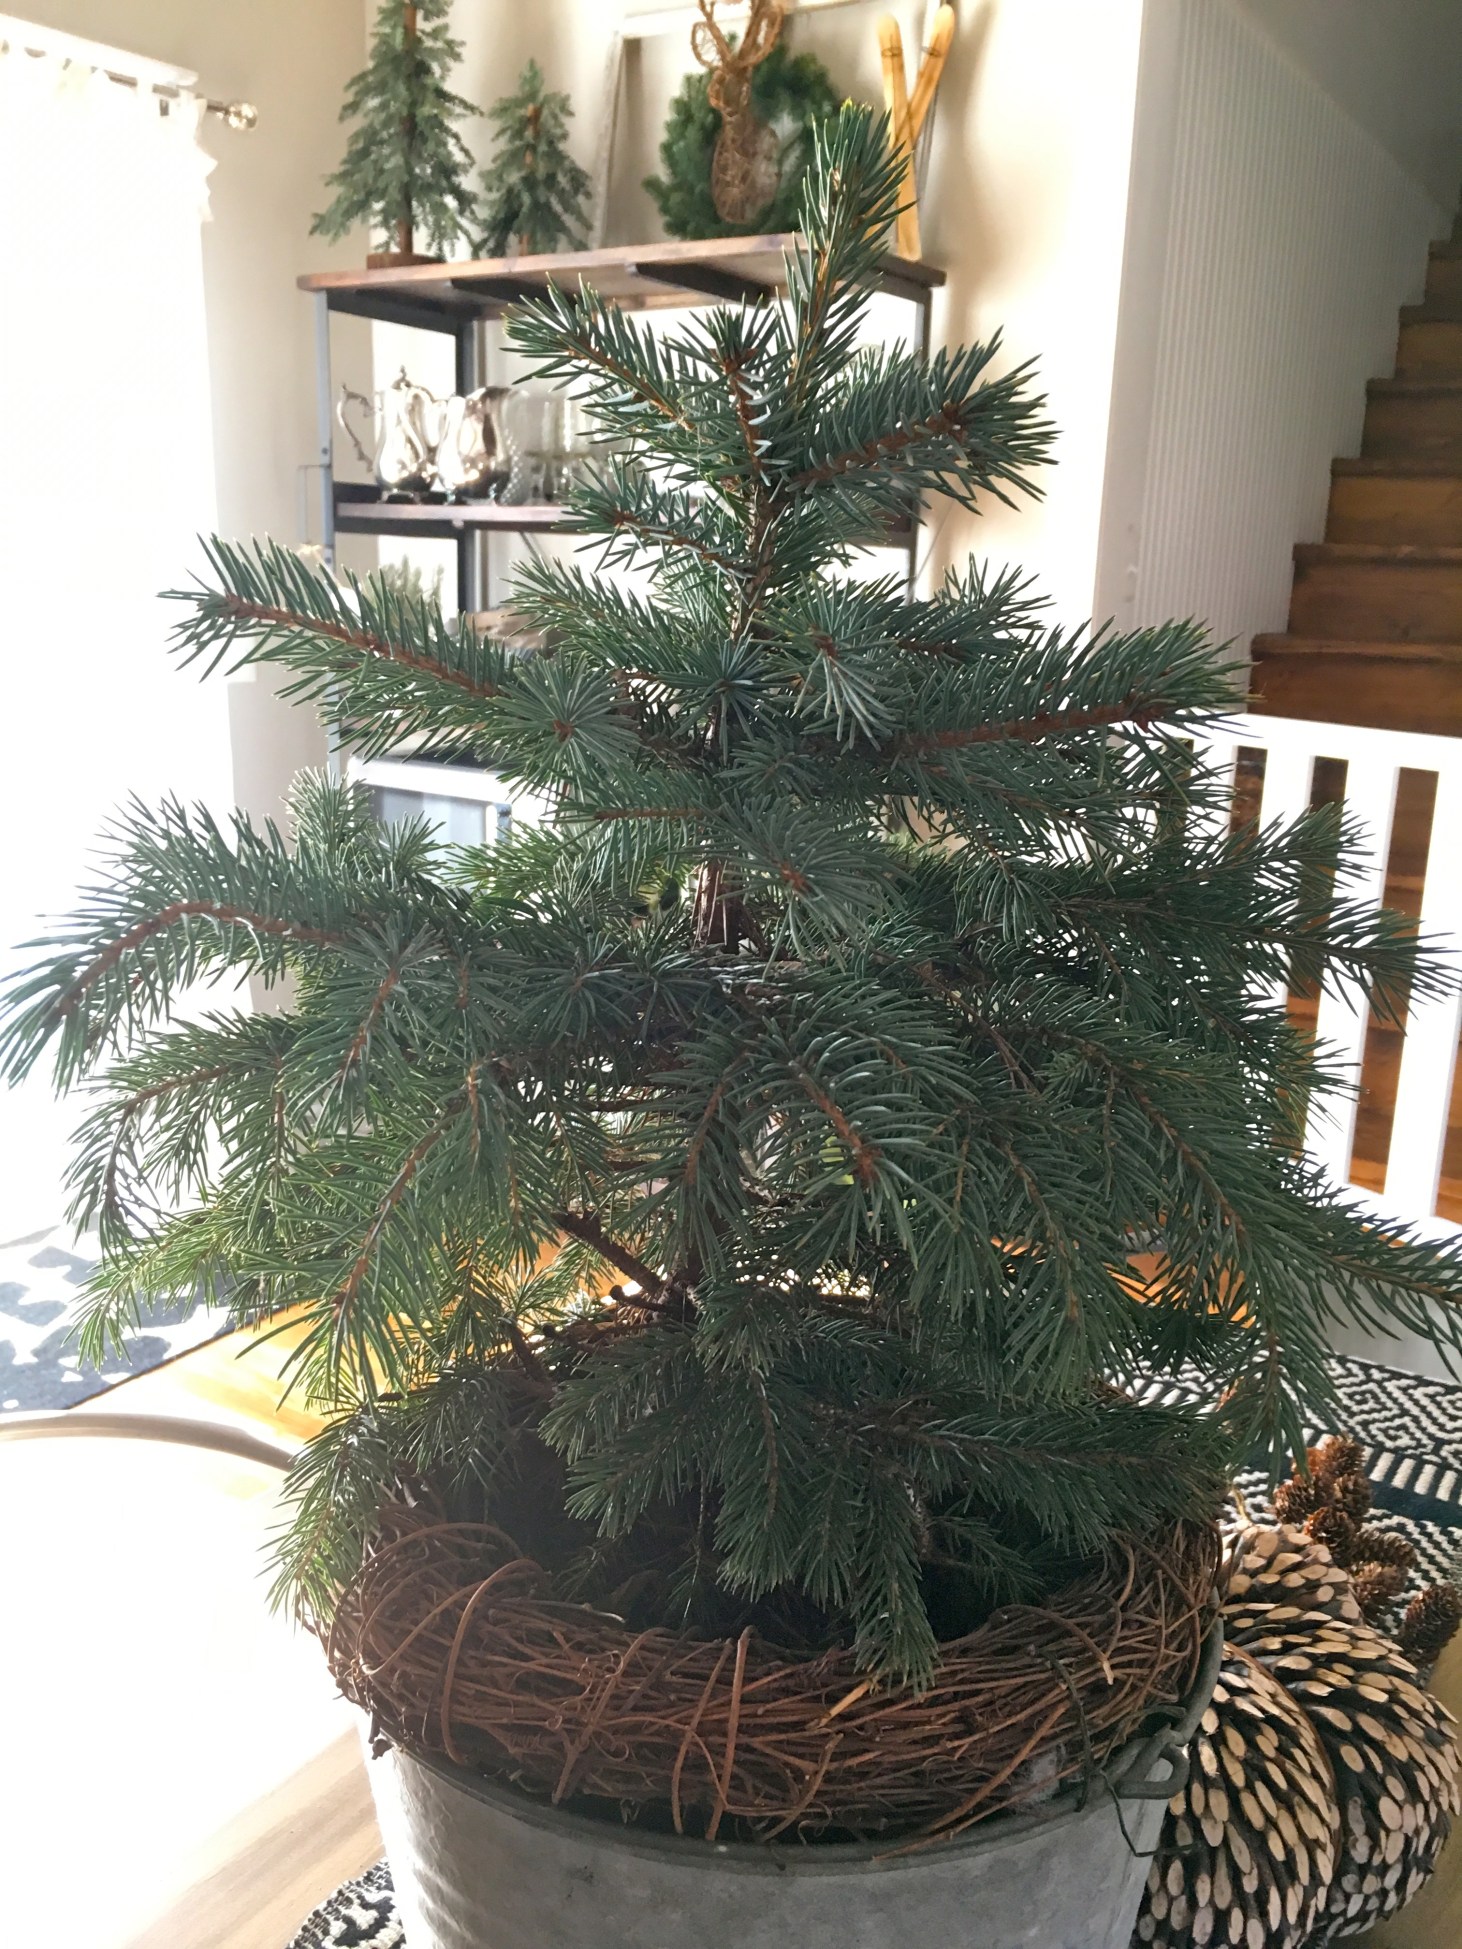
Then I use any ribbon you like- (this is Jute I purchased from Decor Steals) and cut a piece of pine from our tree out back.  I love the way it smells and makes it feel so Christmasy!

Another reason why I love this brown paper is because I can use stamps!  (Of course the photo I want to look perfect I don’t push down hard enough and the stamp didn’t look so good! )  I have an array of stamps I love to use to change it up.  But this stamp here is my absolute favorite!  My sister-in-law bought this for me as a surprise gift a few years back.  It is a photo of our home!! 🙂

I love how it gives such a personal feel.  She also bought me plain cards she stamped this on and said I can use it on a flour sack towel too!  She is so creative isn’t she??!

I called her this morning and she said she ordered it from www.simonstamp.com

I am sure you all can find a million cute things to do with a stamp like this of your own home and brown paper that is way cuter than this! But I hope I inspired you as you all do to me 🙂

A Simple Christmas Treat

I wanted to share  with you all my favorite Christmas treat!  I know most of you know of this already, but for those that don’t…oh my goodness do I have a treat for you!

I am not sure what they are called, but it is a pretzel meets hershey hugs topped with M&M magic. 🙂

Preheat the oven to 200 degrees and get to unwrapping :)!  I found that the square pretzels work best, but was told not to use butter snaps (I have no idea why because it sure sounds good.)  I have also seen others use Rollo’s or plain Hershey kisses, but the Hershey Hugs are by far my favorite.

Now the key is to bake them at 200 degrees for about 5 minutes until they are shinny- not melted.  Then put them in the fridge for an hour (if you can wait that long.. 🙂

Aren’t these cute?!  Let me tell you, they taste even better than they look!

The Christmas Stairwell

I just wanted to quick share what I played around with today.  Our staircase. Just over a year ago this was a hallway.  We moved the stairs to this location and opened up the wall.  This wall was original to the home back in the 1800s.  Each board that was cut from this wall was reused somewhere else in the home.  I believe the wood from this spot was used for shelves in the laundry room. (Remind me to show you all sometime).

Today the sun peeked in just for a minute as I took this.  I can’t believe it is December 7 already and Christmas is only 18 days away!!  Okay back to the staircase.  I had a photo of a staircase from County Living Magazine years ago that I ripped out and showed to Doug that I wanted.  They had used pears as a decor on every step and I too want to copy them and do that. He thought I was crazy to want to cut half the wall out and put in a half open stairwell. At the time the house was so so different from what it is now.  I still can’t believe the changes that we made, but I am so happy how this one turned out.

Then here, after a little afternoon nap I did a little more decorating.


As much as I love stockings hung from a mantel, Doug would kill me.  Because we heat the house with the wood stove in the kitchen I can get pretty hot.  He would prefer to have nothing on the mantel at all, but I can get away with a few things. ; )

And one more with the candles lit!  Of course I blew them out right away before Doug caught me… ; )

2015 Christmas Tour

Hello friends!!  I have started decorating for Christmas and wanted to share a few things.  In a perfect world I would have had my “Christmas tour” on the blog some time ago, but better later than never right?  To begin, I bought these just a week ago at Everlasting Blooms.

Now aren’t they just so pretty?!  For some reason I tend to stay clear of red for Christmas decor (I know I am crazy), but these are so beautiful!  I have such a hard time with color. Even red on Christmas, but just a pop of color goes a long way with a neutral palette.

I had no idea where I was going to use this “color.” But eventually, after trial and error I found it a home.  Here in the galvanized bin.  Doug seems to think someone made this in HVAC school because he had to back in the day, but I have no idea where this really come from.  I do know I love it!  I bought it full of cabbage at the little red barn a few months ago. I filled the bottom with fresh greens and stuck a few sprigs of pinecones I had out from my fall decor.  Do you like it??

Next, I would love to show you all my favorite thing to decorate.  My open shelving unit from World Market.  Funny story about this- I bought it for in kitchen.  Where the coffee bar is.  I had it planned to fit just perfect!  Or so I thought.  It ended up being a half an inch too small for the space :(..  I am sure you all can imagine my disappointment.  After some time passed, I never got over my love for this shelving unit.  So I bought it again. And let me tell you, this wasn’t easy.  I was pregnant. And this was SO heavy!  But I was determined. I sold my antique hoosier I had planned for the space.  (Which in itself was such a hard decision!)  But am SO happy I bought this.

Really I don’t change it too much except for the top shelf and the banner across the front.  For fall, I had the Target dollar spot acorns, but for Christmas I found these light up deer on Antique Farmhouse.  They are battery operated and I look forward to turning them on every night 🙂

Here is a close up of the stag on the top shelf.  Isn’t he cute?  I put him in the 10$ wreath from ikea with the infamous target dollar spot skies to the right. And those trees I stole from my mom.. shhh… ; )

Well there wasn’t much a tour in there.  So deceiving I know!  I will try hard to take more pictures this week and add to this 🙂

Please let me know what you would all love to see and share with me your own stories and homes!!

Thank you!

Morgan Ford


DIY Desk

Hi everyone!  I wanted to write a little blog about the desk Doug built me just before Auburn was born.  I can’t tell you why I HAD to have it then before he was born. Because somehow I wouldn’t be able to have this baby if I didn’t have a desk?!  Those baby hormones I tell you.  But poor Doug right.. I know.

Well I thought I should blog about how he built it when I saw the hashtag #scrapwoodchallenge that is going on this week.  I don’t know if this counts because of course Doug built it, not me. (I know, I’m spoiled).  But if you or your husband are handy, I bet you could pull this one off!

To begin, he used reclaimed wood from the home.  This is red cedar off the walls in the upstairs.  He carefully removed board by board to save every piece he could and put plywood up in its place.  The home was built in 1861 because we found a piece of newspaper on a piece of salvage wood with that date! Therefore, this wood must be a least two hundred years old. Crazy to think isn’t it?

Okay back to the desk. I found on Pinterest a similar desk where they used black pipes for the legs.  I sometimes think we should have done that too, but Doug wanted to use galvanized pipe.  He bought 3/4 in galvanized for the base.  You can find this at almost any home improvement store. Lowes, Home Depot, Menards.

He first built a frame out of some of the reclaimed wood.  Then built the top on that. Of course I asked if he could do some sort of herringbone design and he came up with this.  I mean who isn’t just in love with herringbone 😉 ?!

I know, I don’t have many “in the making” photos, but this shows the top. He glued and screwed the top onto the frame that was in the last photo. After the glue had dried he removed the screws and used salvage square nails from the home.  Isn’t he clever?!

This next photo shows the base made with galvanized pipe.

And another of the top.

He belt sanded the wood. Then we stained it with a provincial wiping stain. We used this stain throughout the house.  On pine it is MUCH lighter and I know this looks very dark, but the old wood is so porous. Plus it is cedar which gave it have a red tinge.  We also used left over oil base polyurethane he had left from over from refinishing the floors.

I love the little details and thought he put into this and know we will cherish it for years and years to come 🙂

Please feel free to ask questions and would love to hear from you all! 🙂

Christmas Through Lowell

Hi again!  I just wanted to write a tiny about about Christmas through Lowell. What it is. And why I love it.

Christmas through Lowell has been going on for 24 years now. The Lowell Area Chamber of Commerce hosts 45 beautiful homes filled with gifts, creations, and treasures.  It is shopping throughout the Historic city of Lowell.  Local businesses carry the official map and tour guides pin pointing all 45 stops.  The best way I can describe this is Etsy gone wild at peoples homes!  I can not begin to describe the creativity that these wonderful people bring and kindness as they welcome you to their homes.

This year I did my math wrong and unfortunately took the wrong weekend off work!! :(..  I do whatever I can to avoid working the Friday of Christmas through Lowell, but this year I was caught off guard being a week later than I expected.   It is always the third Friday in November.  So mark your calendars!

Being that I live North of Lowell, I tend to stop at places closest to me. I have not been able to make it to every home, but I do want to share a few fun purchases I made!

First, I made a few stops closest to home on Burrows.  Stop number 8- Homespun Holidays, and number 9- Lil’ Red Barn.

I mean how cute is this bucket?!  LOVE IT.  I think I might but my “Christmas Tree” in it.  And you haven’t seen my tree yet, don’t laugh..

I also saw someone carrying a galvenized bucket with a tree in it.  I thought to myself OMG I’m too late!  Then I begged if they had anymore and low and behold it was my lucky day!

Isn’t it cute?!

Next, I bought this at stop 11 at the River Edge Bed & Breakfast.  Here I met two beautiful ladies who are sellers on Etsy as well 🙂

img_0319.jpg

Let me just say these are AMAZING!

Well sorry I don’t have more to tell, but after a few stops and meeting some wonderful people it was nap time and work before I knew it.

Maybe I will sneak away today for a few more stops today before work 🙂

Empty wall nightmares?

A new sweet friend of mine, Jessica, asked me a question this week.  She said she has a wall that is empty that she is stumped about!  Well, trust me, we have ALL been there!  I told her I don’t think I am the one to ask because I am queen of bare walls! And I HATE to put a hole in the wall.  I avoid it at all costs.  Therefore, I love command strips (until they take the paint off, err..)  Some people are masters of the amazing wall collage filled with vintage frames and more, but I just can’t do that!  First, I don’t think I am cleaver enough to arrange it, and second I love change too much!! It would be a nightmare when I felt the need to switch it up.

So this leads me to my solution.

Its so easy and simple its almost too silly to write about. Yet, here I go!

img_0249.jpg

I took two command strips and stuck them on the wall.  Then bought jute string, some card stock paper from the scrap booking aisle, and used clothes pins I had.  Of course, just this last week Target had the cutest tree clothes pins that were adorable!

And well, there you have it.  My solution to an empty wall!  This way I can update the photos so easy and quick! (Which you can already tell I need to do).

P.S. If you’re wonder about the crazy wall, it was the old flooring from the upstairs.  We knew we wanted to reuse it somewhere in the house.  This wall was a mess because it use to be the wall the old stairs went up.  Doug had the idea to use the flooring here on the wall!  I know it is not the amazing white plank wall we all dream about, but it is close to our hearts and tried our best to reuse any and all materials we could!

Thank you for stopping by!  I would love to hear from you and questions or comments you may have 🙂

Yet another couch…

Hello everyone!!

I wanted to write to you all about our living room revamp!  I know, I did have a different couch I had purchased last winter, but it just wasn’t working for me!  It was gray which I thought I would love and oversized and well I just didn’t like it!!! I am sooo happy with my new purchase!  I bought the Stocksund sofa from IKEA.  It is slip covered and makes the room feel so much lighter and airy! Hindsight is alway 20/20 and I wish I would have known about IKEA back when we were doing the house remodel, but it wasn’t until I met Rachel did she enlighten me to the wonderful world of IKEA.  I mean OMG I LOVE that place!

Here is a picture of the new sofa-

Featured image

Don’t mind the ugly plant there by the window.  It is a lemon tree that is not too happy with me.  I was going to remove it, but with baby in one hand and trying to take photos in the other I forgot all about it!

Featured image

And do you see that hutch in the back?? That was my husbands grandmothers, Morna.  I just was getting to know her before she passed two years ago.  From what I know and have heard she was the most selfless women.  She LOVED that hutch.  I have to say I did paint it….. Morna goodness I hope you forgive me!  But I too am now in LOVE with it.  It provides just good storage for us now that I put baskets on the shelves and they are FULL.  I used Annie Solon chalk paint.  That color is called French Linen 🙂

Featured image

The newest thing in the room is this ladder I found at that secret barn sale I keep talking about!  I want to share sooo bad, but have been begged by friends to please PLEASE not share!!!

IMG_0173_2

Featured image

I feel it brings good height and love the feel it brings to the room.  That dresser is from the Flat River Cottage in Lowell and was a must have.  Talk about LOVE at first sight ❤

Well folks, there you have it!  The living room.  Next, to decorate it for Christmas!!

Featured image

How it All Began

A few years ago we purchased my husbands grandparents home.   It is located smack dab in the middle of my parents and his.  Yes, you heard that right… we bought the home between the farm he was raised on and mine.  Both fathers are beef cattle farmers.  As long as I can remember our families hosted a Ford/Olin Christmas the eve of Christmas Eve.   With all of this you would begin to think we had been life long friends!! But not so fast..  Doug is eight years older than me.  As children this was eons! I secretly wished he was my age so I could date him.   I had my eye on that blonde hair blue eyed boy, but never thought I would be so lucky as to marry him.

Okay, enough with the mooy gooy.  Back to the good stuff.  The house remodel.  We purchased the home with no expectations of remodeling any time soon.  But after too many showers with the fuze blowing and having to run outside, around the house, through the dorothy doors, and across the basement to the breaker, I had it!  I also blame Rehab Addict and Nichole Curtis for my dying need to dig in!

How about some before photos:

DSC_0108

Featured image

Featured image

Well those are just a few photos from the summer we bought it.  The outside hasn’t changed nearly as much as I would like.  But what is that saying?? All good things come to those who wait?! Or something like that 😉